XMPie Products |
  
|
XMPie Products |
|
Creating a XMPie document
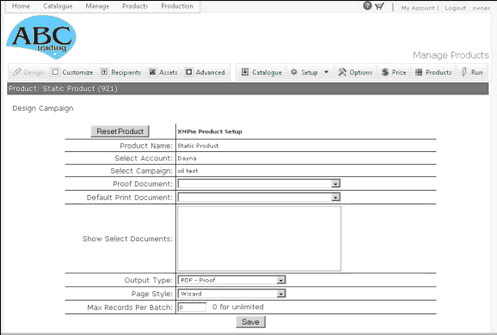
Setup Product using Manage uProduce
Go ePower uses XMPie technology for some of its variable documents. In order for XMPie to be active in Go ePower you must have a software license from XMPie.
In order for you to Setup XMPie documents on Go ePower you must first Setup the document on your XMPie desktop software. To prepare a campaign package for uploading to the Go ePower server follow the steps below:
From inDesign:
1.With the document opened Click on Exchange Export on the XMPie Palette.
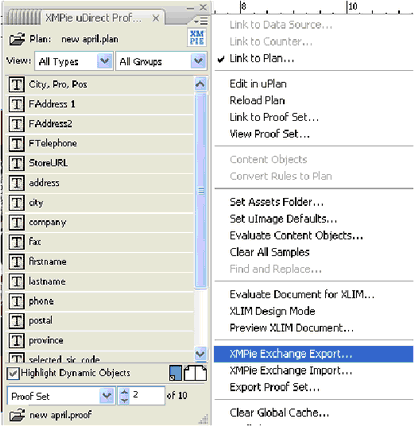
2.Select .cpkg as the file type to export.
3.Log into your GoePower
4.From the main menu select Manage Products > XMPie server.
A list of accounts your profile has access to will be displayed. You can create a new account by clicking on the new button and typing the name of the new account then clicking Save. Please note you must allow pop ups in your browser for this to work.
5.Click on the name of the account you would like to upload the new product to.
6. Click on the Upload CPKG Tab.
Create Campaign

7.Click the select button to browse your computer for the .cpkg file you created for this Campaign and type the name of you campaign in the Name field.
Upload Campaign
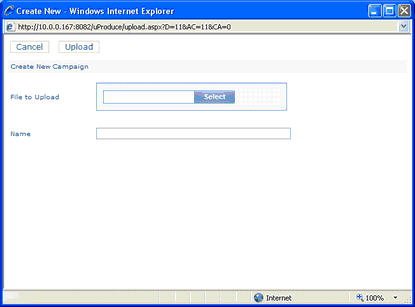
8.Click Upload to upload your files and create the campaign.
Once your campaign package has been uploaded you will see the campaign listed under the account you uploaded it to.
9.Click on the campaign name of the campaign you uploaded and click the New Product tab, you may need to refresh your browser in order for the new product tab to appear.
Create New XMPie product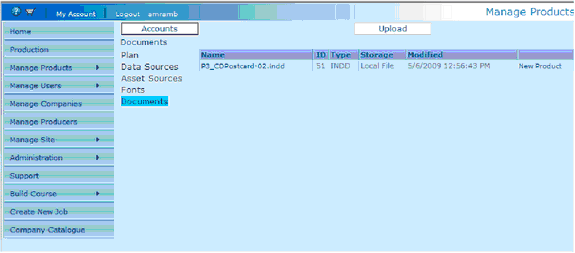
10.Select the Producer, Company and Product Name for the Campaign.
Select Producer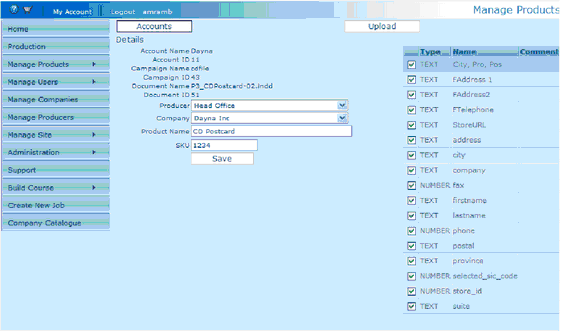
11.To the right of the screen you will see a list of Adors/Content objects, these were uploaded with your file. By default all are checked off. Uncheck any Adores/Content objects that will not be used in this Campaign and Click Save.
The Customization screen will appear. The customization page allows you to set parameters for the Adore/Content objects you have created.
12.Click up arrow ![]() or down arrow
or down arrow ![]() to change the order of the adore/ Content object.
to change the order of the adore/ Content object.
13.Click Remove to delete any Adore /Content objects you no longer need
Output Type
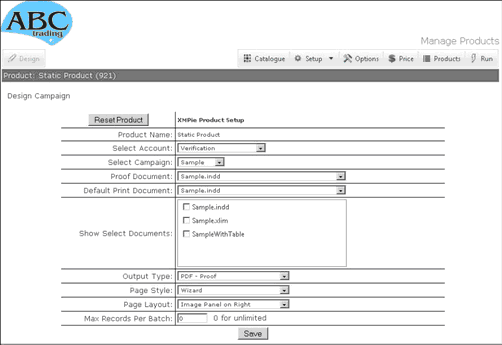
1.click save.
2.Click Customization button to add/edit dials, selecting them from ADORs and variables created in the Plan file. These dials /fields can be edited for the user to view and use as required.
Customize Button
 ”
”
To customization of the fields:
a.Click the add button next to the field you want displayed to the user.
b.Click the edit button next to the field on the right.
c.Fill in the fields as follows:
i.Display Name: The name of the field as it will show to the user
ii.Description: Explains the fields function to the user (leave blank if no explanation is required.
iii.Control Height: Controls the height of the field.
iv.Control Width: Controls the width of the field.e
v.Input Control: Controls the way the user will put information into the field.
3.Click Save.
4.Click Recipients button to fill information about uploading database by user.
Upload Recipient List: must be checked for XMPie (must be same structure uploaded in the product setup)
Click Save
5.Click Assets button to fill information about uploading images by user.
6.Click Advanced button to set other product options related to displaying images.